The Azure Websites are easy to handle but still it doesn’t take much effort to add new instances. But how should I react if an error appears?

Azure Website Configuration
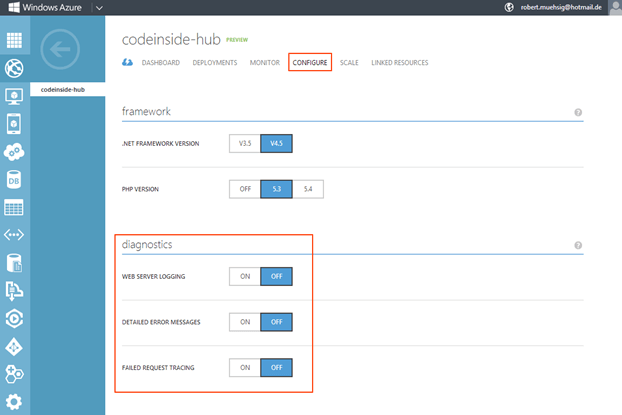
At the adjustments of Azure Websites you will find three diagnostic-tools:
· Detailed Error Logging – Turn on detailed error logging to capture all errors generated by your web site.
· Failed Request Tracing – Turn on failed request tracing to capture information for failed client requests.
· Web Server Logging – Turn on Web Server logging to save web site logs using the W3C extended log file format.
Source: How to monitor web sites

Where are these Logs saved?
The logs are saved in a directory on the machine which is accessible via FTP. Therefore you have to change into the “Dashboard” and search for “FTP DIAGNOSTIC LOGS”. You will be asked for the Deployment-User (which is also responsible for the Git-Deployment) as Login!


I require more Logging- / Exception information’s
Unfortunately the Error-Pages are not always constructive therefore you will quickly reach the point where you need the Logging framework.
ELMAH to the rescue!
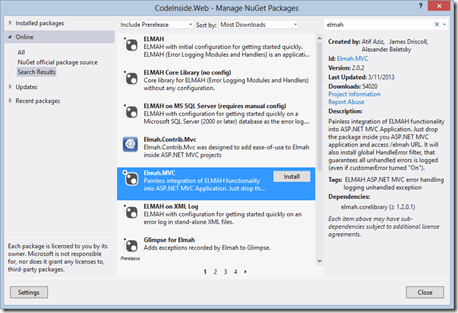
I quickly decided for ELMAH including the additional ASP.NET MVC Integration:

Now integrate the XmlFile-Provider into the web.config:
<elmah>
  <errorLog type=”Elmah.XmlFileErrorLog, Elmah” logPath=”~/App_Data” />
</elmah>
Now you are able to navigate to the page and the App_Data directory via FTP:

Of course Log4Net or NLog would work as well.
Result:
The Azure websites act basically like a normal web application on an ordinary IIS and therefore they have almost the same rules. You don’t need a totally different repertoire like with the Cloud Services (with the Table Storage and the Diagnostics).