The ASP.NET Core React template
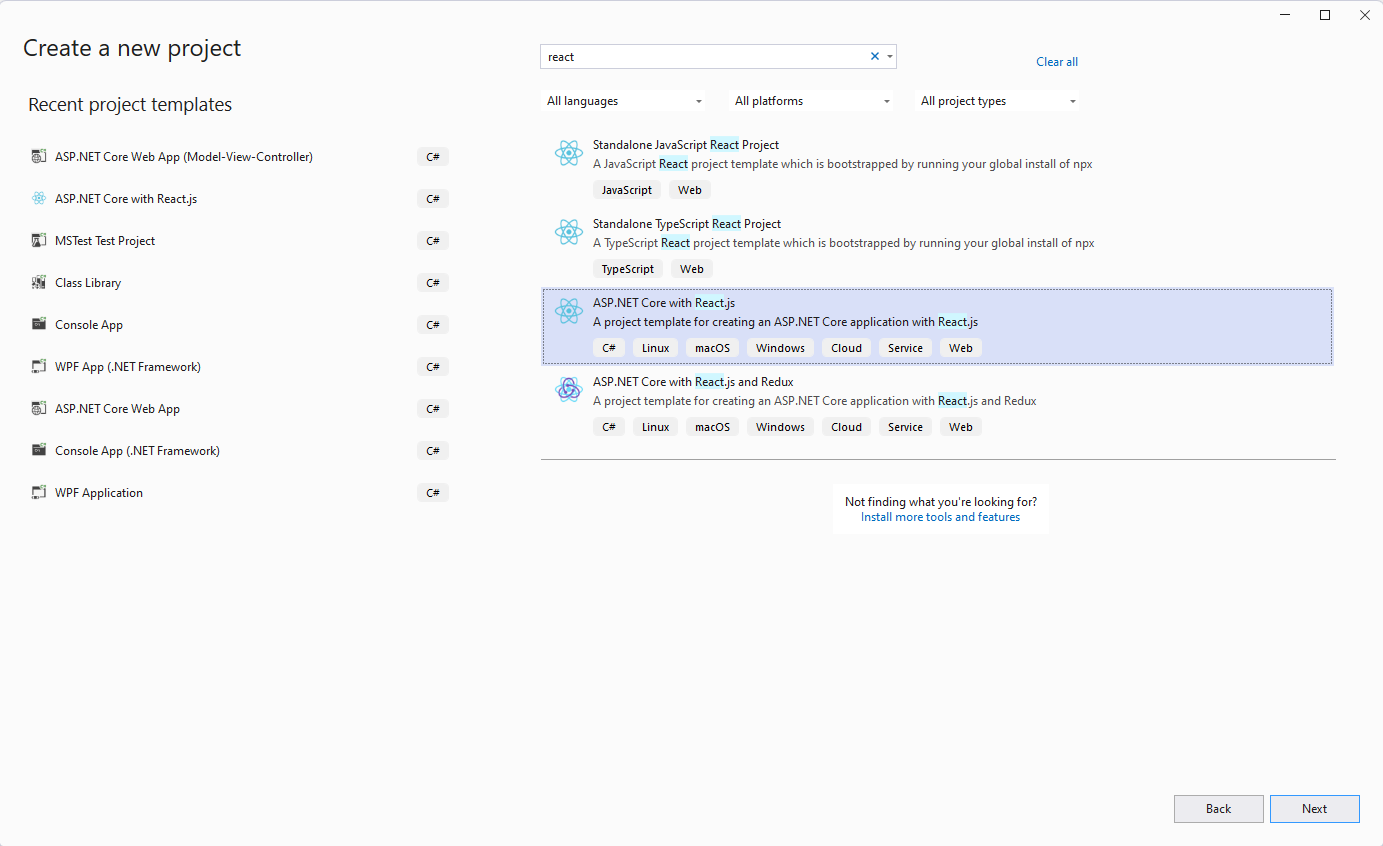
Visual Studio (at least VS 2019 and the newer 2022) ships with a ASP.NET Core React template, which is “ok-ish”, but has some really bad problems:
The React part of this template is scaffolded via “CRA” (which seems to be problematic as well, but is not the point of this post) and uses JavaScript instead of TypeScript. Another huge pain point (from my perspective) is that the template uses some special configurations to just host the react part for users - if you want to mix in some “MVC”/”Razor” stuff, you need to change some of this “magic”.
The good parts:
Both worlds can live together: During development time the ASP.NET Core stuff is hosted via Kestrel and the React part is hosted under the WebPack Development server. The lovely hot reload is working as expected and is really powerful. If you are doing a release build, the project will take care of the npm-magic.
But because of the “bad problems” outweight the benefits, we try to integrate a typical react app in a “normal” ASP.NET Core app.
Step for Step
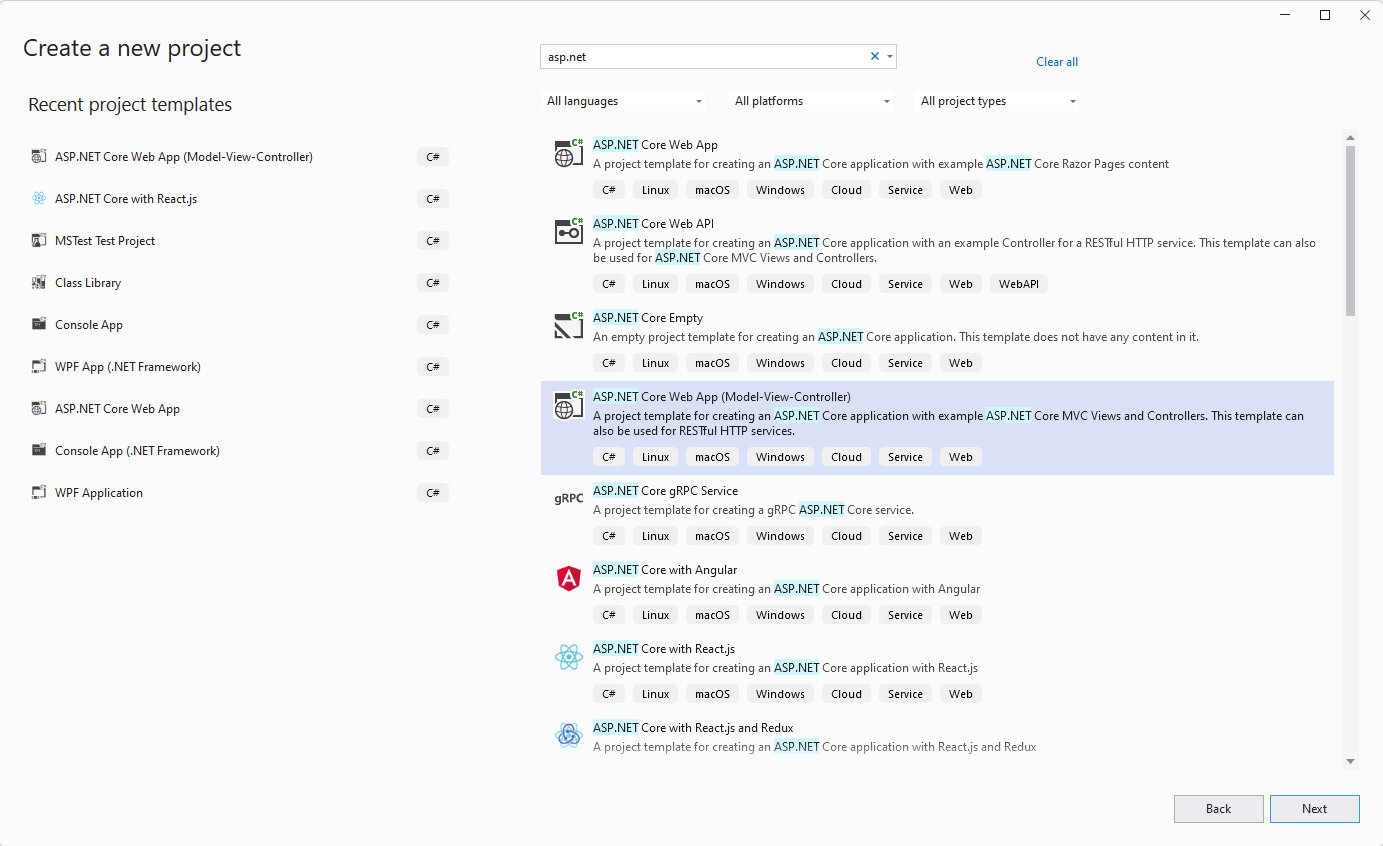
Step 1: Create a “normal” ASP.NET Core project
(I like the ASP.NET Core MVC template, but feel free to use something else)
Step 2: Create a react app inside the ASP.NET Core project
(For this blogpost I use the “Create React App”-approach, but you can use whatever you like)
Execute this in your ASP.NET Core template (node & npm must be installed!):
npx create-react-app clientapp --template typescript
Step 3: Copy some stuff from the React template
The react template ships with some scripts and settings that we want to preserve:
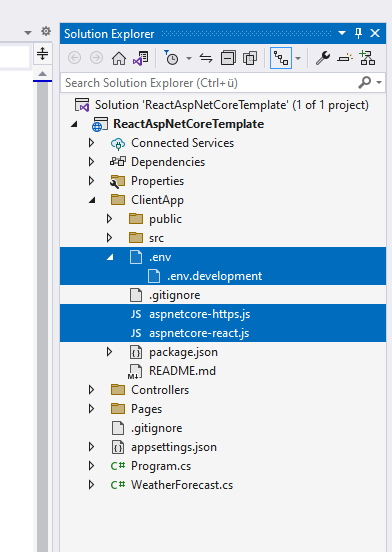
The aspnetcore-https.js and aspnetcore-react.js file is needed to setup the ASP.NET Core SSL dev certificate for the WebPack Dev Server.
You should also copy the .env & .env.development file in the root of your clientapp-folder!
The .env file only has this setting:
BROWSER=none
A more important setting is in the .env.development file (change the port to something different!):
PORT=3333
HTTPS=true
The port number 3333 and the https=true will be important later, otherwise our setup will not work.
Also, add this line to the .env-file (in theory you can use any name - for this sample we keep it spaApp):
PUBLIC_URL=/spaApp
Step 4: Add the prestart to the package.json
In your project open the package.json and add the prestart-line like this:
  "scripts": {
    "prestart": "node aspnetcore-https && node aspnetcore-react",
    "start": "react-scripts start",
    "build": "react-scripts build",
    "test": "react-scripts test",
    "eject": "react-scripts eject"
  },
Step 5: Add the Microsoft.AspNetCore.SpaServices.Extensions NuGet package
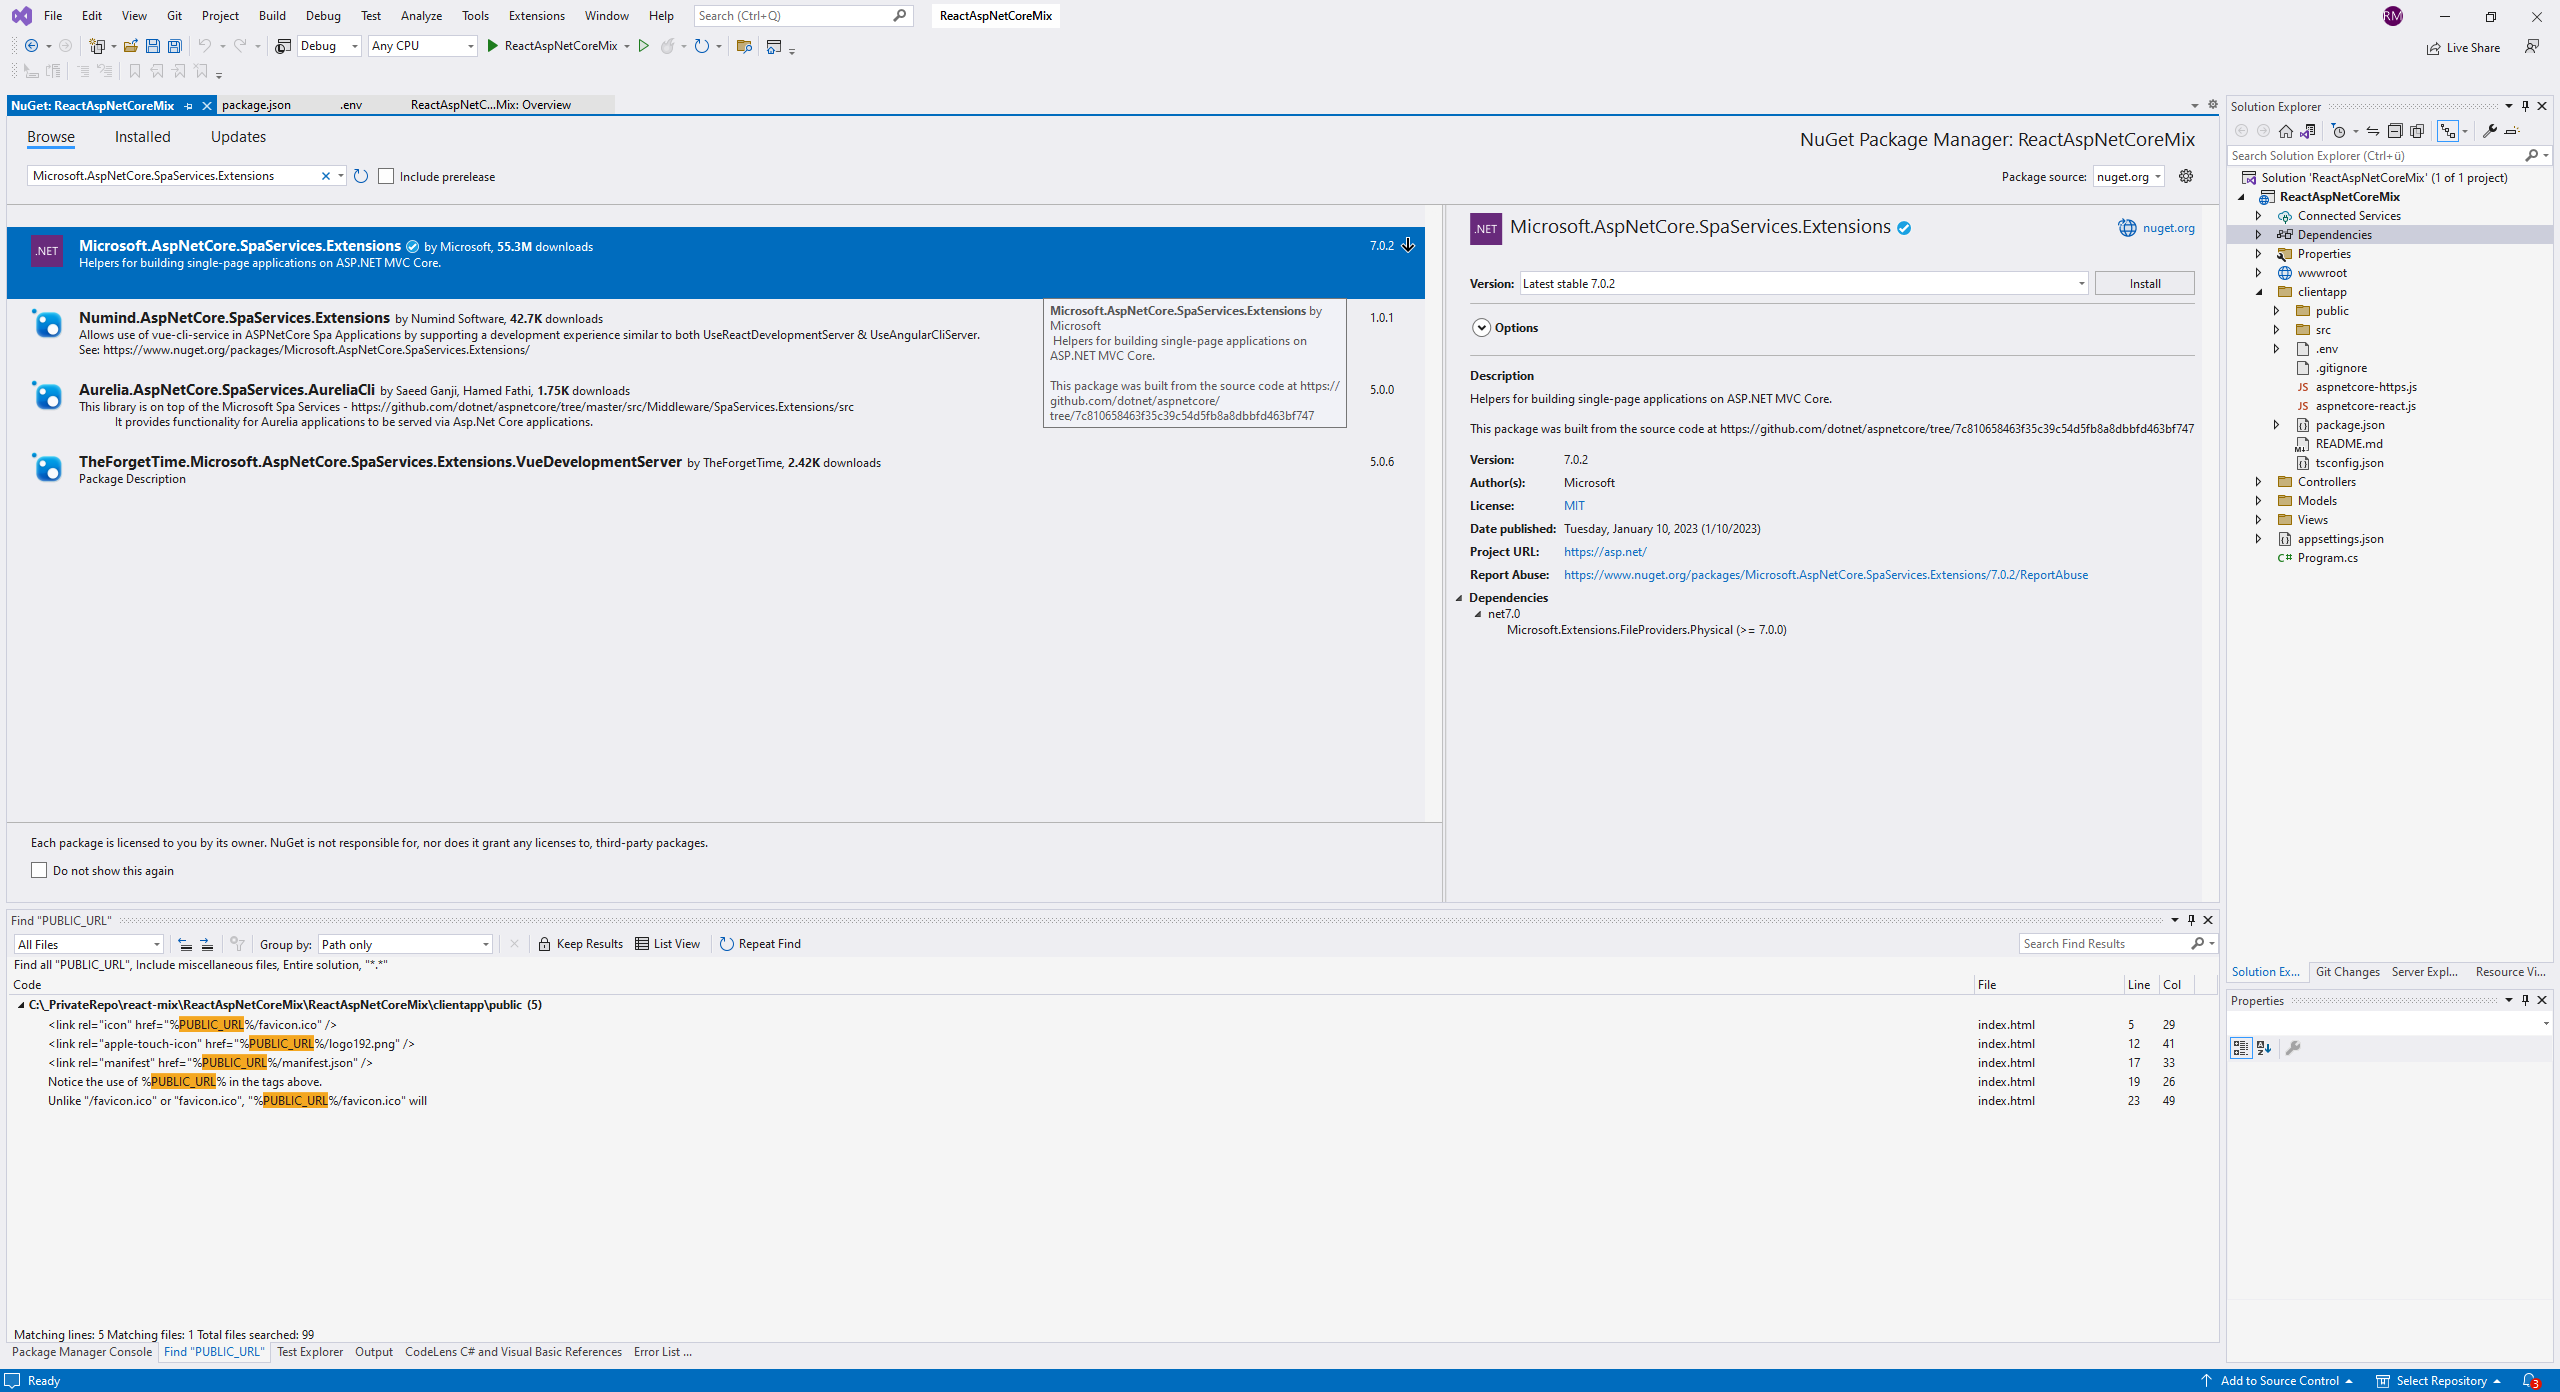
We need the Microsoft.AspNetCore.SpaServices.Extensions NuGet-package. If you use .NET 7, then use the version 7.x.x, if you use .NET 6, use the version 6.x.x - etc.
Step 6: Enhance your Program.cs
Add the SpaStaticFiles to the services collection like this in your Program.cs:
var builder = WebApplication.CreateBuilder(args);

// Add services to the container.
builder.Services.AddControllersWithViews();

// ↓ Add the following lines: ↓
builder.Services.AddSpaStaticFiles(configuration => {
    configuration.RootPath = "clientapp/build";
});
// ↑ these lines ↑

var app = builder.Build();
Now we need to use the SpaServices like this:
app.MapControllerRoute(
    name: "default",
    pattern: "{controller=Home}/{action=Index}/{id?}");

// ↓ Add the following lines: ↓
var spaPath = "/spaApp";
if (app.Environment.IsDevelopment())
{
    app.MapWhen(y => y.Request.Path.StartsWithSegments(spaPath), client =>
    {
        client.UseSpa(spa =>
        {
            spa.UseProxyToSpaDevelopmentServer("https://localhost:3333");
        });
    });
}
else
{
    app.Map(new PathString(spaPath), client =>
    {
        client.UseSpaStaticFiles();
        client.UseSpa(spa => {
            spa.Options.SourcePath = "clientapp";

            // adds no-store header to index page to prevent deployment issues (prevent linking to old .js files)
            // .js and other static resources are still cached by the browser
            spa.Options.DefaultPageStaticFileOptions = new StaticFileOptions
            {
                OnPrepareResponse = ctx =>
                {
                    ResponseHeaders headers = ctx.Context.Response.GetTypedHeaders();
                    headers.CacheControl = new CacheControlHeaderValue
                    {
                        NoCache = true,
                        NoStore = true,
                        MustRevalidate = true
                    };
                }
            };
        });
    });
}
// ↑ these lines ↑

app.Run();
As you can see, we run in two different modes.
In our development world we just use the UseProxyToSpaDevelopmentServer-method to proxy all requests that points to spaApp to the React WebPack DevServer (or something else). The huge benefit is, that you can use the React ecosystem with all its tools. Normally we use Visual Studio Code to run our react frontend and use the ASP.NET Core app as the “Backend for frontend”.
In production we use the build artefacts of the react build and make sure, that it’s not cached. To make the deployment easier, we need to invoke npm run build when we publish this ASP.NET Core app.
Step 7: Invoke npm run build during publish
Add this to your .csproj-file and it should work:
	<PropertyGroup>
		<SpaRoot>clientapp\</SpaRoot>
	</PropertyGroup>

	<Target Name="PublishRunWebpack" AfterTargets="ComputeFilesToPublish">
		<!-- As part of publishing, ensure the JS resources are freshly built in production mode -->
		<Exec WorkingDirectory="$(SpaRoot)" Command="npm install" />
		<Exec WorkingDirectory="$(SpaRoot)" Command="npm run build" />

		<!-- Include the newly-built files in the publish output -->
		<ItemGroup>
			<DistFiles Include="$(SpaRoot)build\**" />
			<ResolvedFileToPublish Include="@(DistFiles->'%(FullPath)')" Exclude="@(ResolvedFileToPublish)">
				<RelativePath>%(DistFiles.Identity)</RelativePath> <!-- Changed! -->
				<CopyToPublishDirectory>PreserveNewest</CopyToPublishDirectory>
				<ExcludeFromSingleFile>true</ExcludeFromSingleFile>
			</ResolvedFileToPublish>
		</ItemGroup>
	</Target>
Be aware that these instruction are copied from the original ASP.NET Core React template and are slightly modified, otherwise the path wouldn’t match.
Result
With this setup you can add any spa app that you would like to add to your “normal” ASP.NET Core project.
If everything works as expected you should be able to start the React app in Visual Studio Code like this:
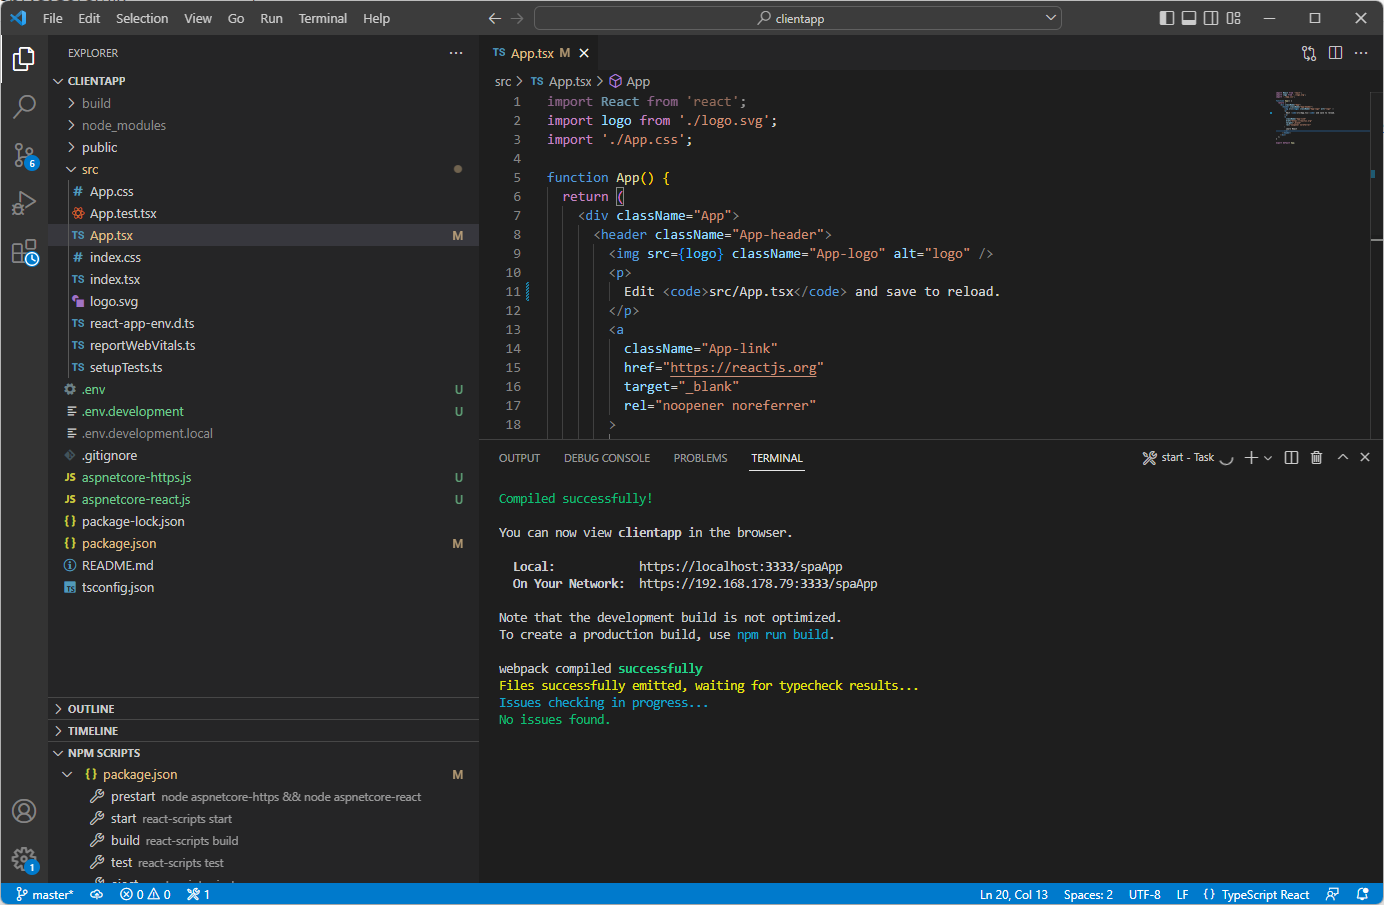
Be aware of the https://localhost:3333/spaApp. The port and the name is important for our sample!
Start your hosting ASP.NET Core app in Visual Studio (or in any IDE that you like) and all requests that points to spaApp use the WebPack DevServer in the background:
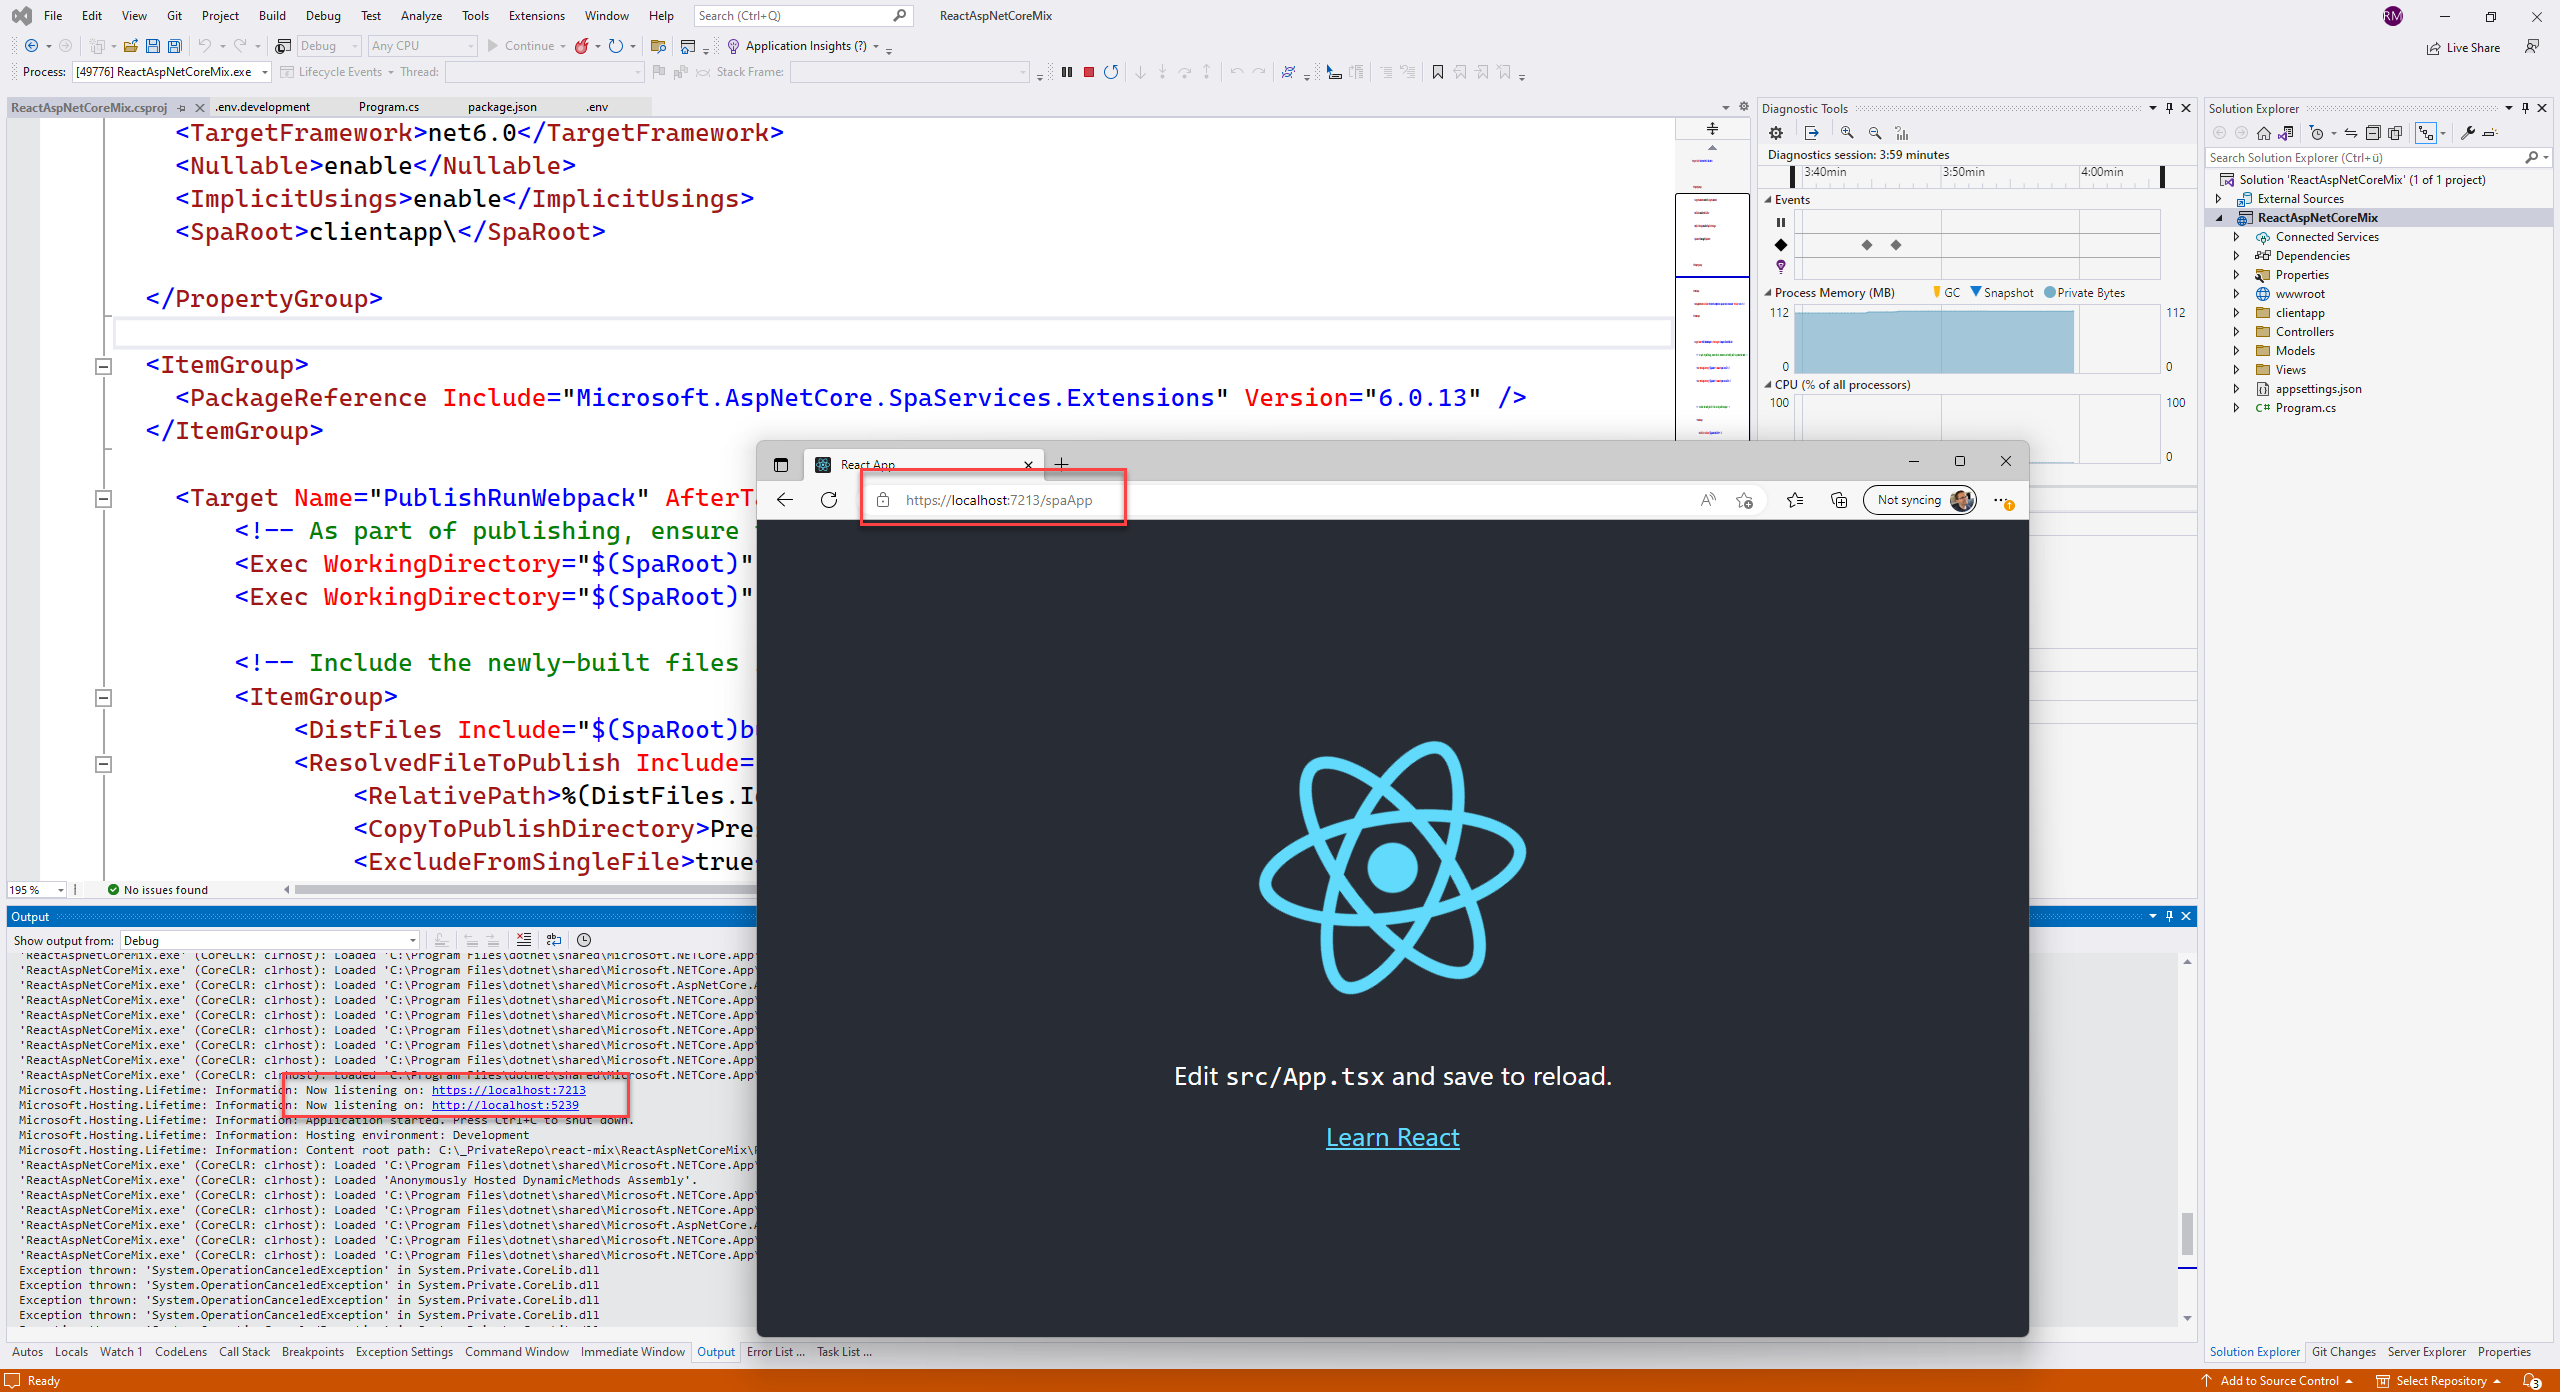
With this setup you can mix all client & server side styles as you like - mission succeeded and you can use any client setup (CRA, anything else) as you would like to.
Code
The code (but with slightly modified values (e.g. another port)) can be found here.
Be aware, that npm i needs to be run first.
Video
I uploaded a video on my YouTube channel (in German) about this setup:
Hope this helps!